Granicus Setup
In order to gather data from Granicus, you will need to create a templated view in the Granicus admin interface. This view will be used to gather the necessary data for each meeting.
Template
The template for the view is stored in this respository as /clip-dump-template.html.
Template Contents
<!DOCTYPE html>
<html>
<body>
<div class="list-root">
<table>
<thead><tr>
<th data-key="id">ID</th>
<th data-key="location">Location</th>
<th data-key="name">Name</th>
<th data-key="date">Date</th>
<th data-key="duration">Duration</th>
<th data-key="agenda_link">AgendaLink</th>
<th data-key="minutes_link">MinutesLink</th>
<!-- <th data-key="DirectLink">DirectLink</th> -->
<th data-key="audio_link">MP3Link</th>
<th data-key="video_link">MP4Link</th>
<th data-key="player_link">Player</th>
</tr></thead>
<tbody>
{foreach from=$Archives item=Clip}
<tr class="clip-row" data-clip-id="{$Clip.ID}">
<td data-key="id" data-type="string">{$Clip.ID}</td>
<td data-key="location" data-type="string">{$Clip.Location}</td>
<td data-key="name" data-type="string">{$Clip.Name}</td>
<td data-key="date" data-type="integer" data-value="{$Clip.Time}">{$Clip.Date|date_format:"%D"} {$Clip.Time|time_format:"%H:%M"}</td>
<td data-key="duration" data-type="integer" data-value="{$Clip.Duration}">{$Clip.Duration|time_format:"%Hh %Mm"}</td>
<td data-key="agenda" data-type="URL">{if $Clip.AgendaLink}<a href="{$Clip.AgendaLink}">Agenda</a>{/if}</td>
<td data-key="minutes" data-type="URL">{if $Clip.MinutesLink}<a href="{$Clip.MinutesLink}">Minutes</a>{/if}</td>
<!-- <td data-key="DirectLink"></td> -->
<td data-key="audio" data-type="URL">{if $Clip.MP3Link !=""}<a href="{$Clip.MP3Link}">MP3</a>{/if}</td>
<td data-key="video" data-type="URL">{if $Clip.MP4Link !=""}<a href="{$Clip.MP4Link}">MP4</a>{/if}</td>
<td data-key="player_link" data-type="string" data-value="{$Clip.PlayerPopupJS}">Player</td>
</tr>
{/foreach}
</div>
</body>
</html>
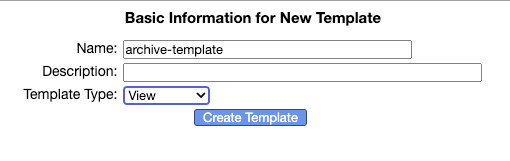
In the Admin page, go to “Templates” and create a new template. Make sure to set
the Template Type to “View”:
After creating the template, go to the “Editor” tab, paste the contents into the text area and save the template:
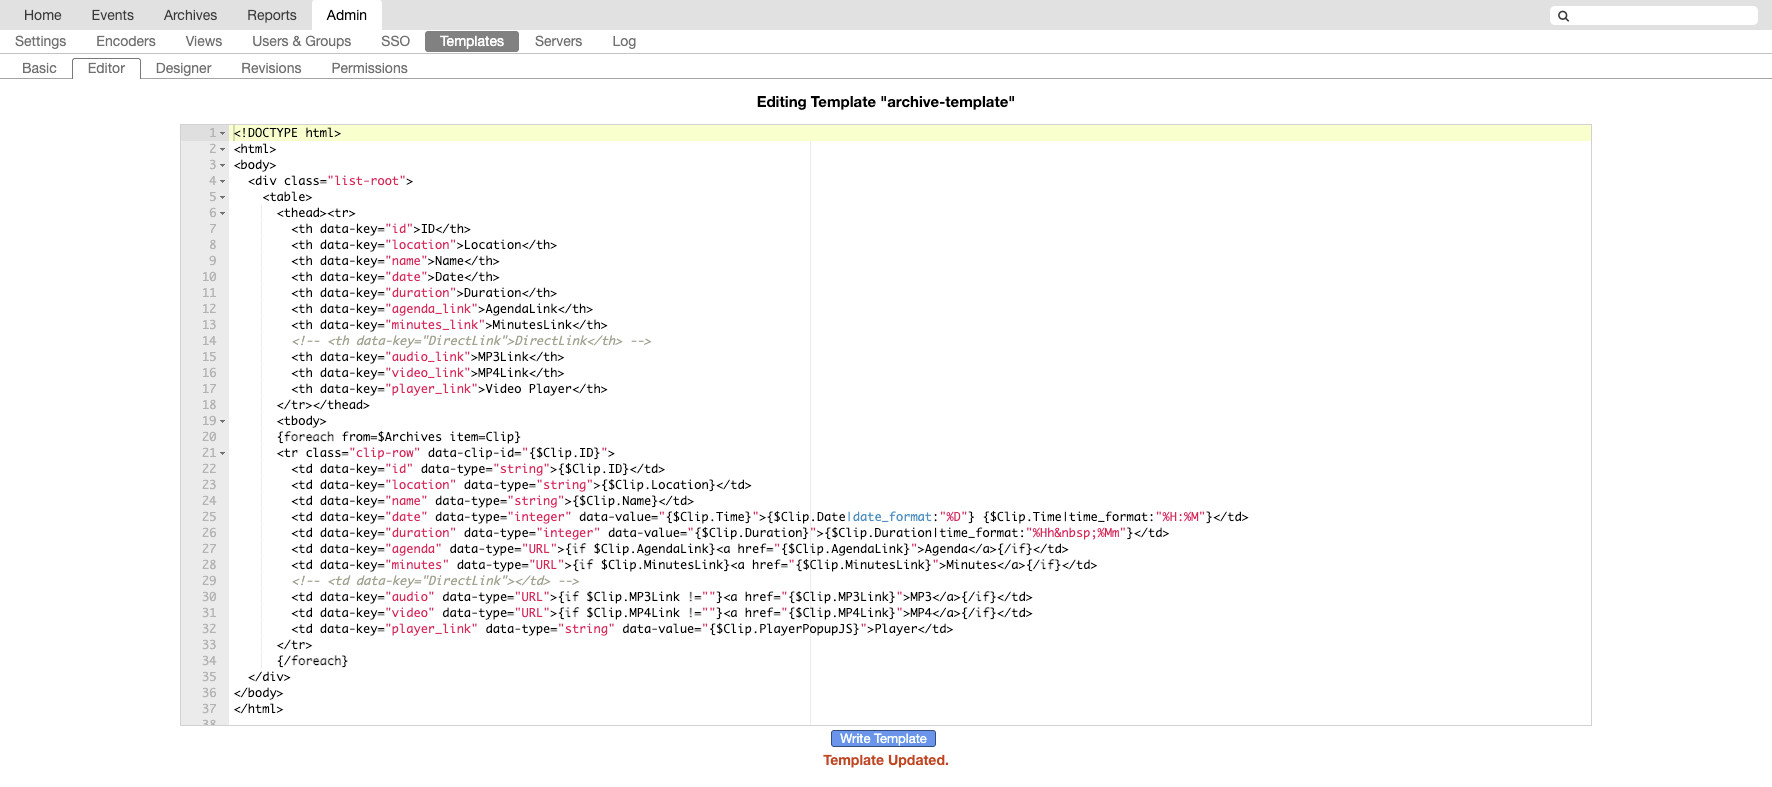
Fig. 3 Template Editor
View
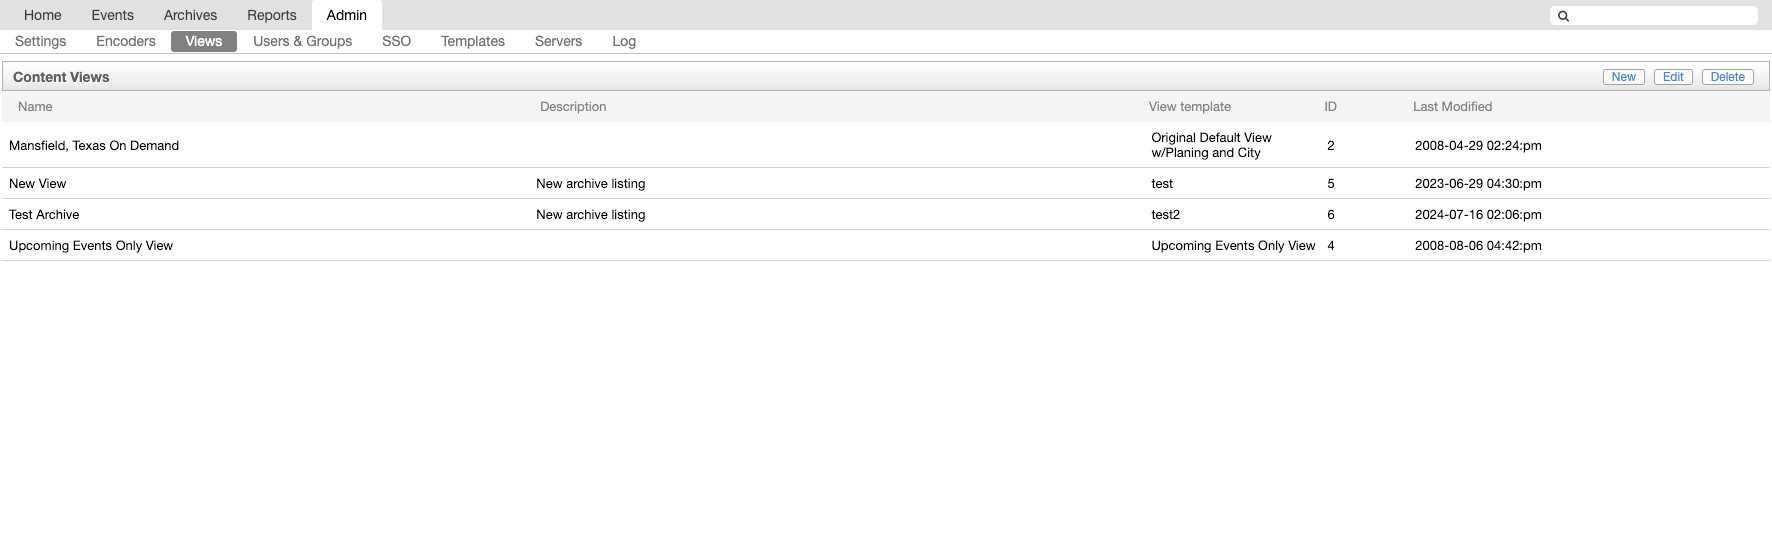
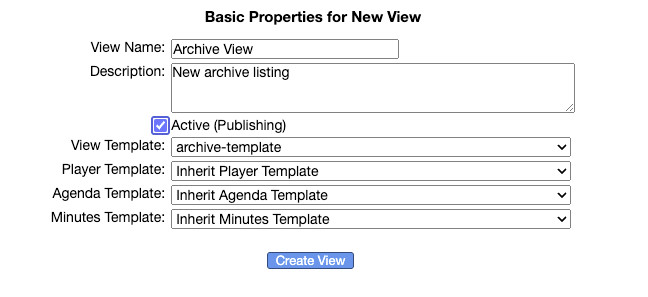
Next, go to the “Views” page and create a new view. Select the template you just created as the “View Template” and check the “Active (Publishing)” box:
Contents
Under the “Contents” tab, select any Folders that you want to include in the archive:
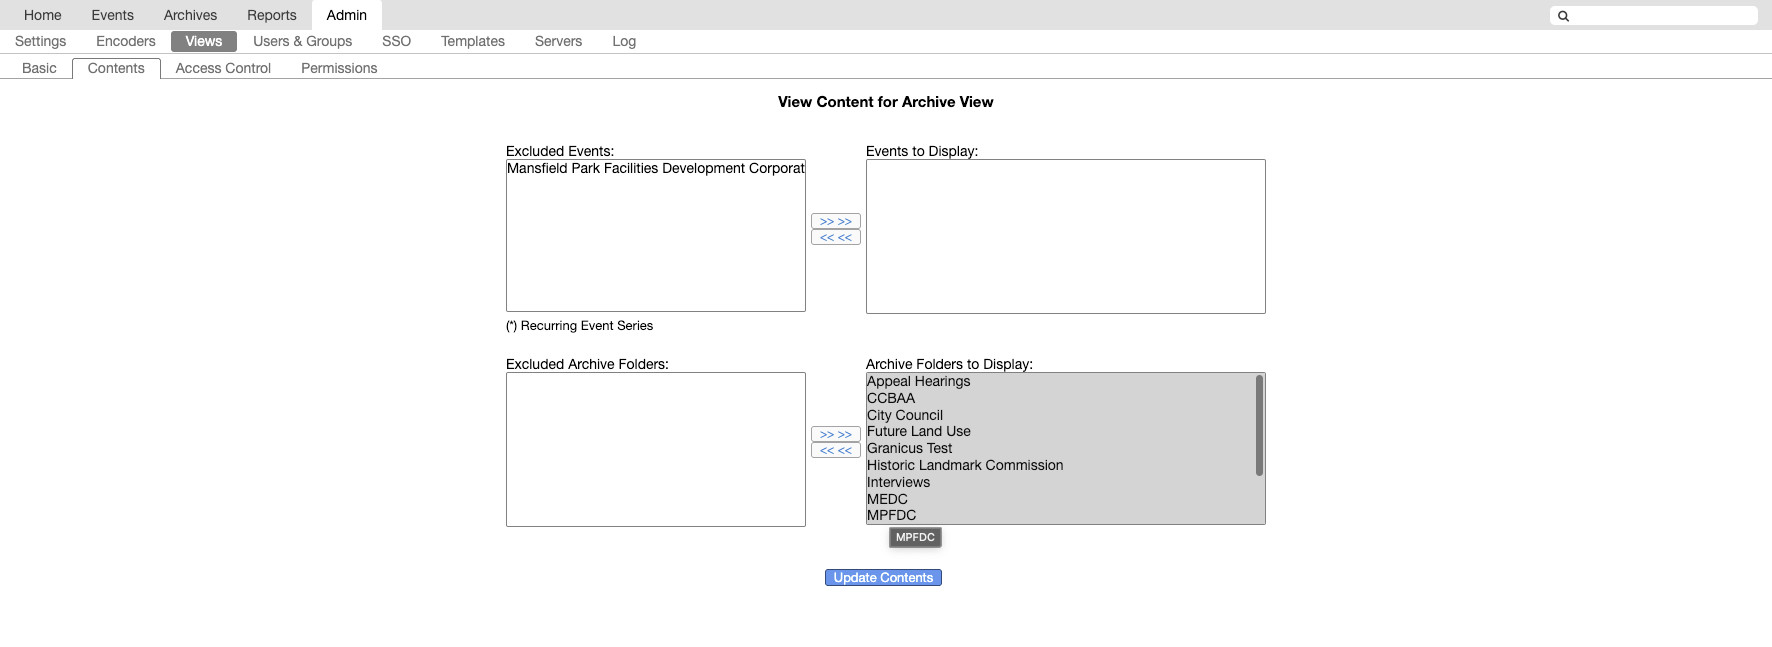
Fig. 6 View Contents
View Publishing URL
After creating the view, make a note of the “Publishing URL” for it. This will be needed during the configuration:
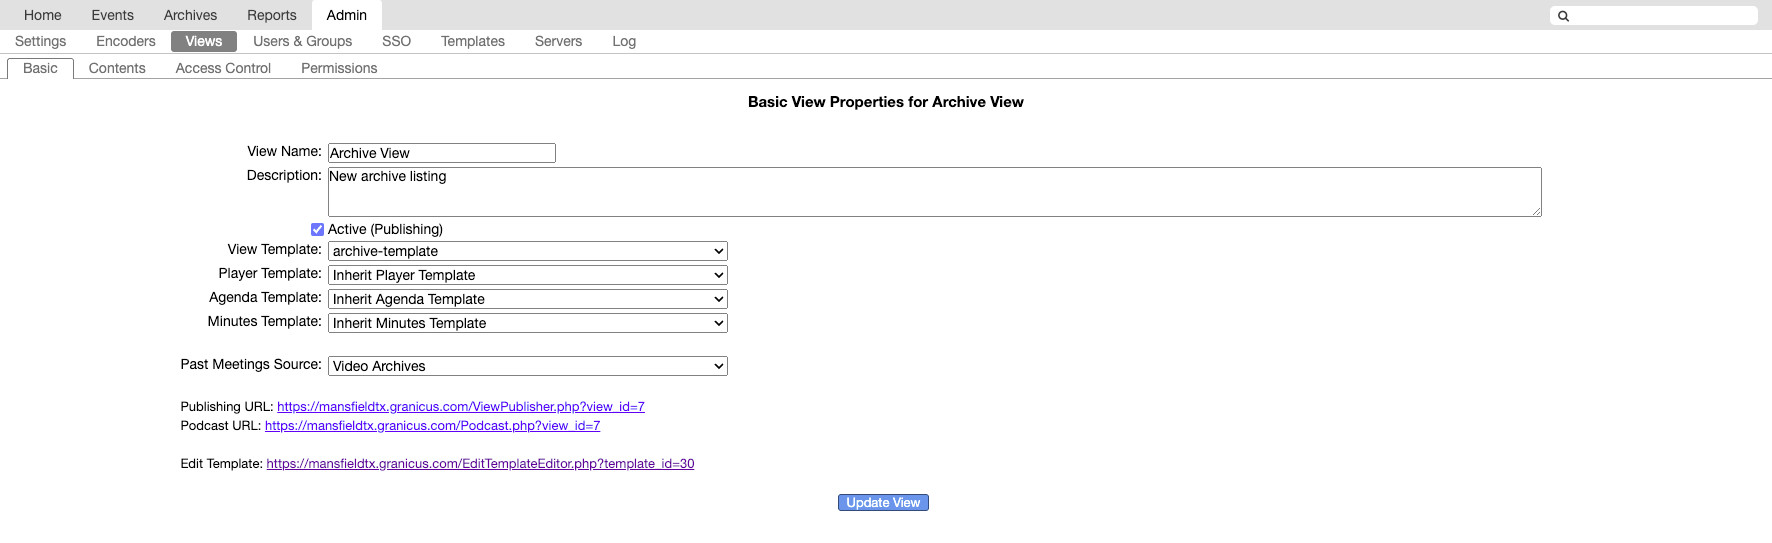
Fig. 7 View Publishing URL
Rendered Result
After setting up the template and the view, you can preview it from the View Publishing URL and see something that looks like this:
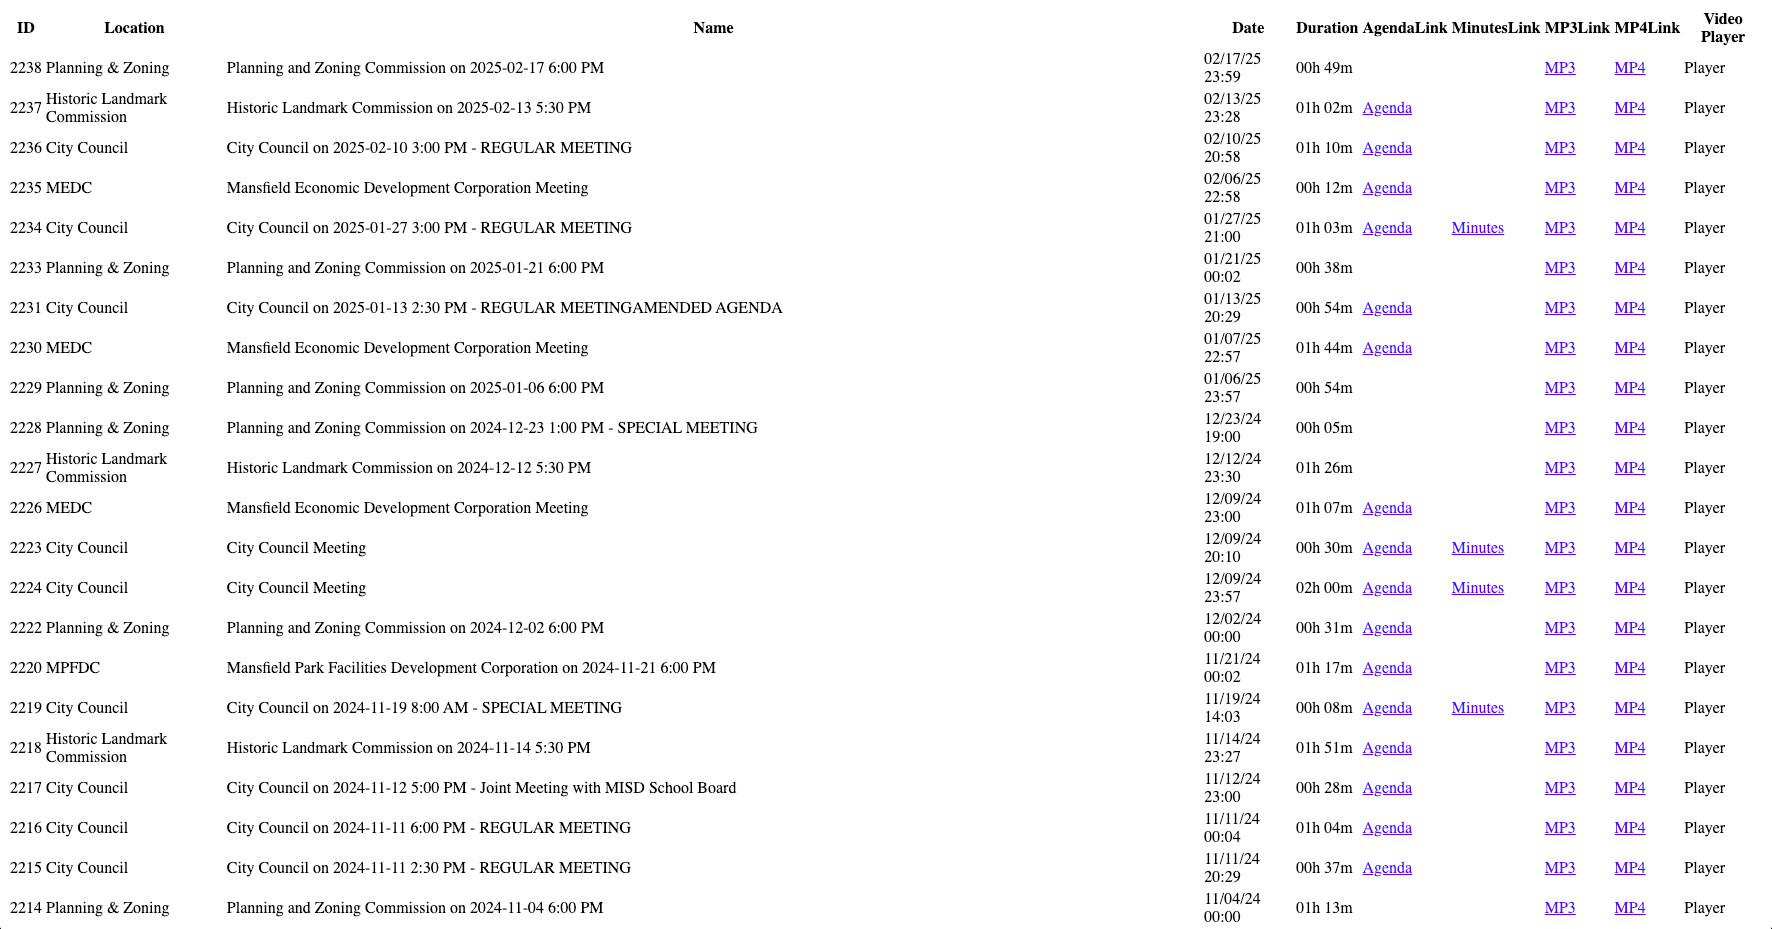
Fig. 8 Rendered View
Note
This is a very basic (and ugly) table, but it isn’t meant to be seen by the public. It has data attributes embedded in the HTML that the archiver will use later on in the configuration section.